
A NEW YEAR'S RESOLUTION
For the past two years that I have tentatively been blogging, there is something that I have really wanted to do. That is, to enjoy the events and festivities that appear on the calendar, and to bake and blog accordingly. If you are thinking that that sounds like a basic thing for any food blogger to do, you are probably right. So why not me?
"Because you are a worrier", says the voice in my head. "Because having a bake schedule will drive you crazy being the perfectionist you are. Do you want to be miserable throughout the whole year?"
The voice is persistent, trying to talk me out of following a schedule.
"It would be better for you to bake and cook as you please; to be spontaneous. Who wants to feature chocolate during Valentine's and bake cookies during Christmas? Bo-ring!"
And to be honest, I have given in to this voice for the past two years, skipping seasonal events and going against the majority of the food blogging world. No Valentine's or Christmas for this blog, no Easter, Mother's Day, Halloween or birthdays either. This blog would be spontaneous and free, giving no thought at all to all the festivities I was actually enjoying in real life, away from the blog. So spontaneous was I being that there were times when I did not blog at all for weeks.
 |  |
 |  |
If asked my opinion about any kind of blogging, I would say "quality over quantity". I think there is no point in posting if you have nothing to say. Even when you write in a private journal, you write about something that means something to you, whether it be a record of what you wore that day, the weather, or your deepest darkest secrets which are not to be shared with any other living soul. So a public blog should be the same. If you write, it should have meaning, at the very least to yourself, or better yet, to your readers. But, at the same time I understand that blogging is about quantity too. You can not stay silent forever and expect for people to stay interested. (Well, unless you have something really interesting and good to say. Some people do, even in between long spans of time.) If the silence goes on for too long, even you would lose track of what your blog is about. Which was slowly starting to happen to me. Well, this is a food blog so in truth it is difficult to lose track of what I am supposed to write about, but that point aside, I did want to see my skills (baking, blogging, photography) improve at a quicker than glacial pace. Which is why I came to the conclusion that I would not give in to "the voice" this year — 2015 would be the year that I leap into having a bake schedule, and let it drive me crazy and miserable. In a good way. And if I make it safely across into the next year, perfect. If not, I will just make 2016 my year. Try again. Just taking the first step, to shed the fear of failing and try, is a big and better step in the right direction. Says the new voice in my head.
AND THE KING OF 2015 . . .
Now that I have shared (one of) my New Year's resolutions, I will share what the first of the festivities on the calendar I am honoring with a recipe: Epiphany. I have baked a galette des rois.
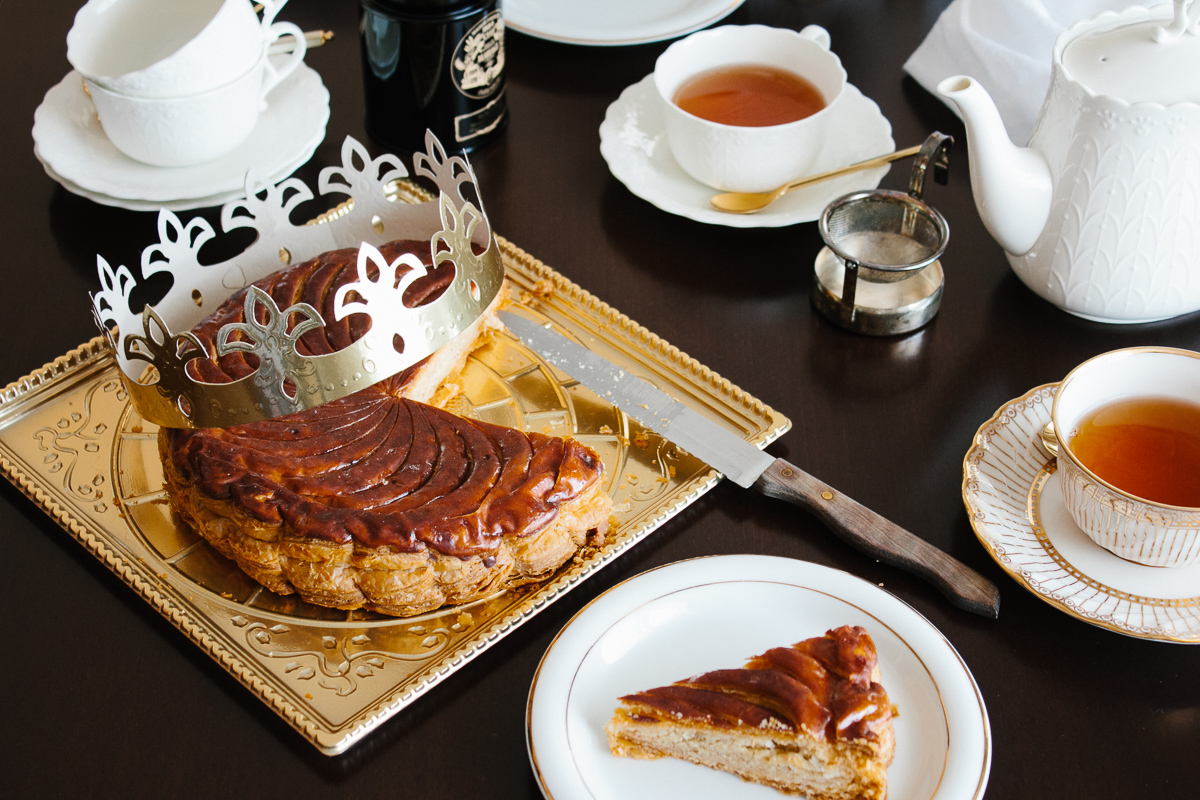
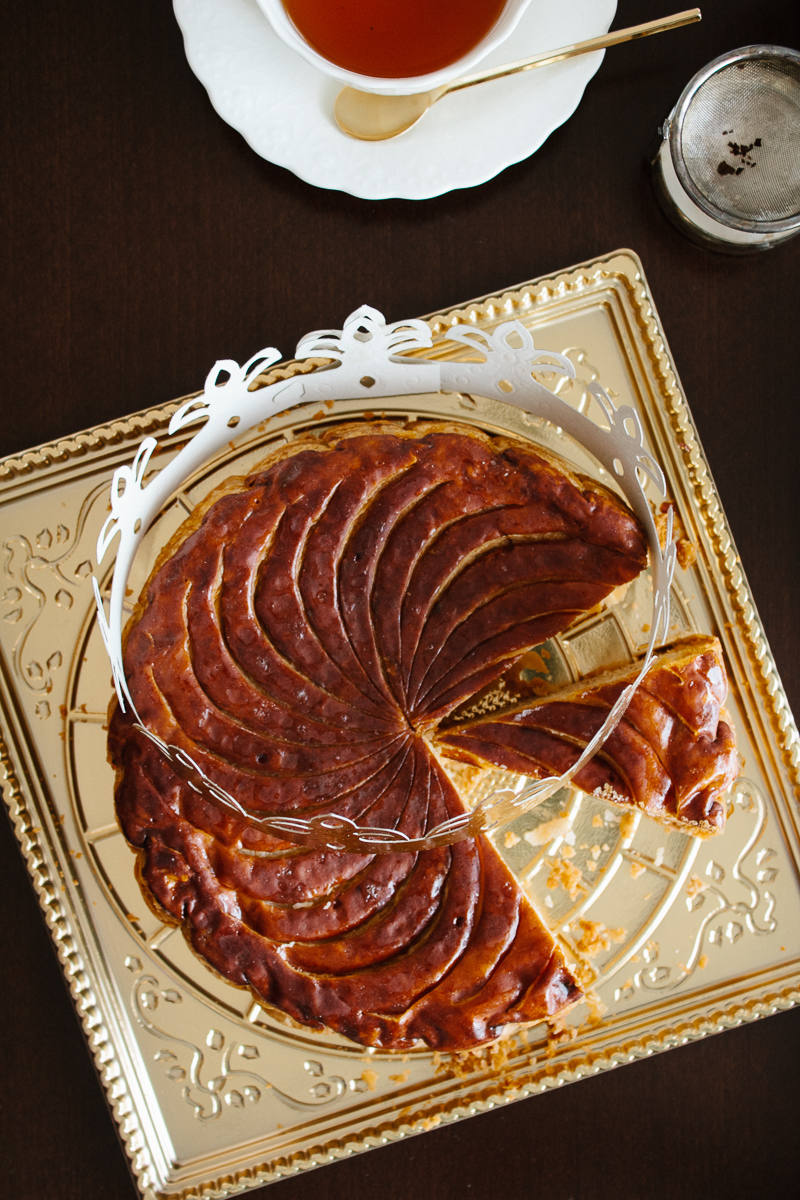
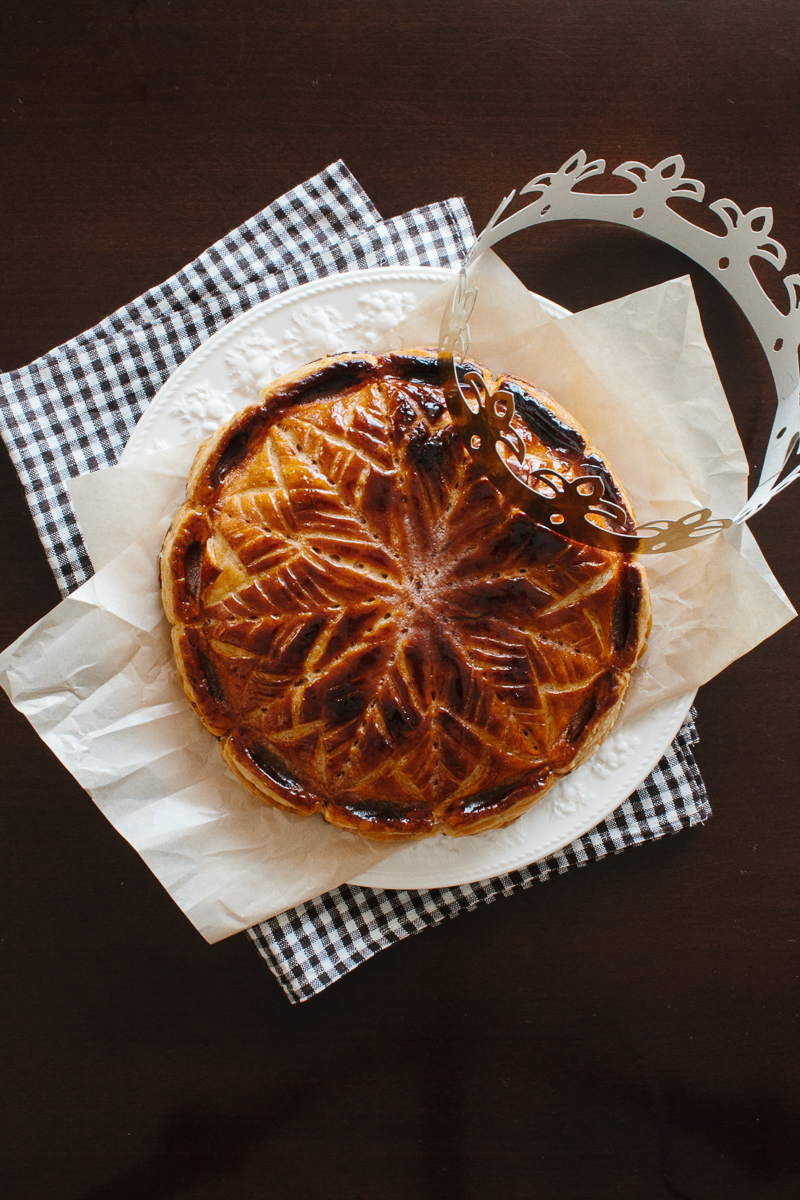
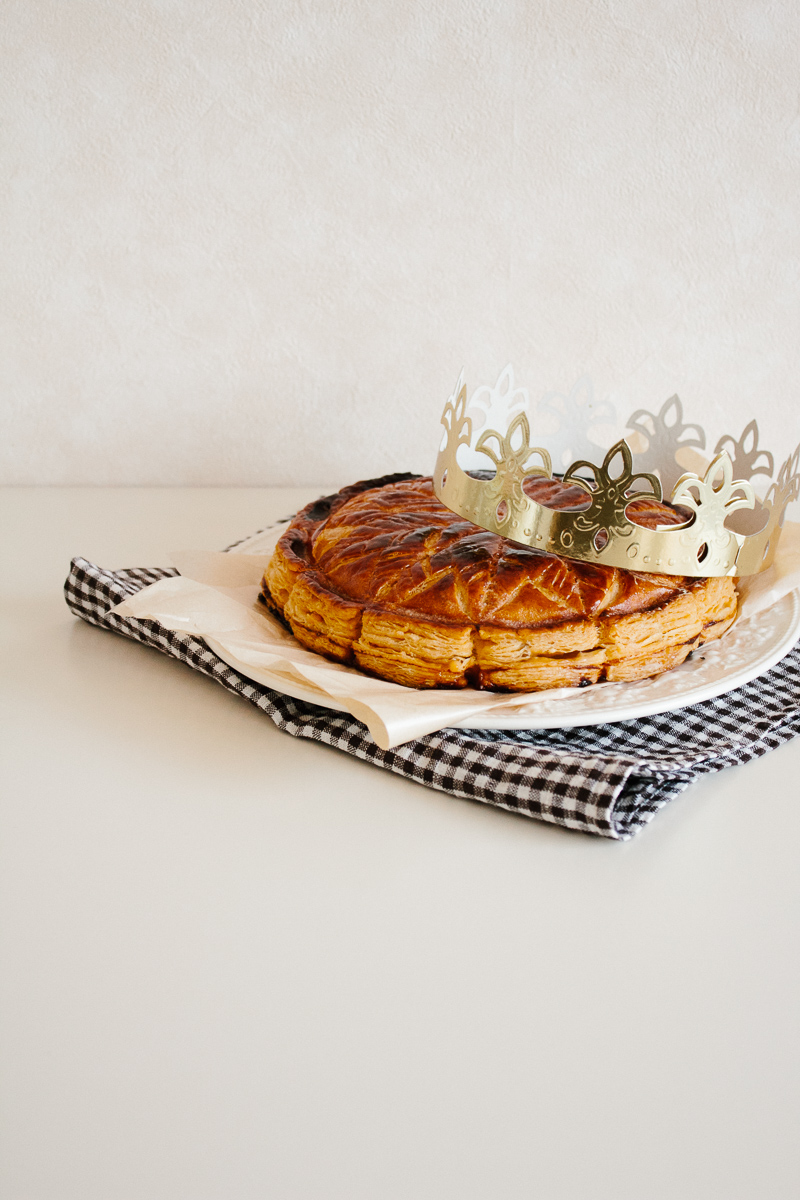
A galette des rois is literally a "king's cake", complete with a paper crown, usually made of puff pastry and filled with frangipane which is an almond paste. It is traditionally eaten on the Christian feast day, Epiphany, which celebrates the three wise men's visit to baby Jesus. A galette des rois always has a hidden fève, which was traditionally a bean but has nowadays evolved into a porcelain figurine. Whoever gets the slice with the fève gets to wear the crown and be king or queen for the day. I've read that the traditional way to serve the cake is for the youngest person present to place themselves under the table and tell the server (who cuts the cake) which slice shall go to whom without looking. This ensures a random distribution of the fève with no cheating, and fairness is very important here, as who doesn't want to be king or queen?
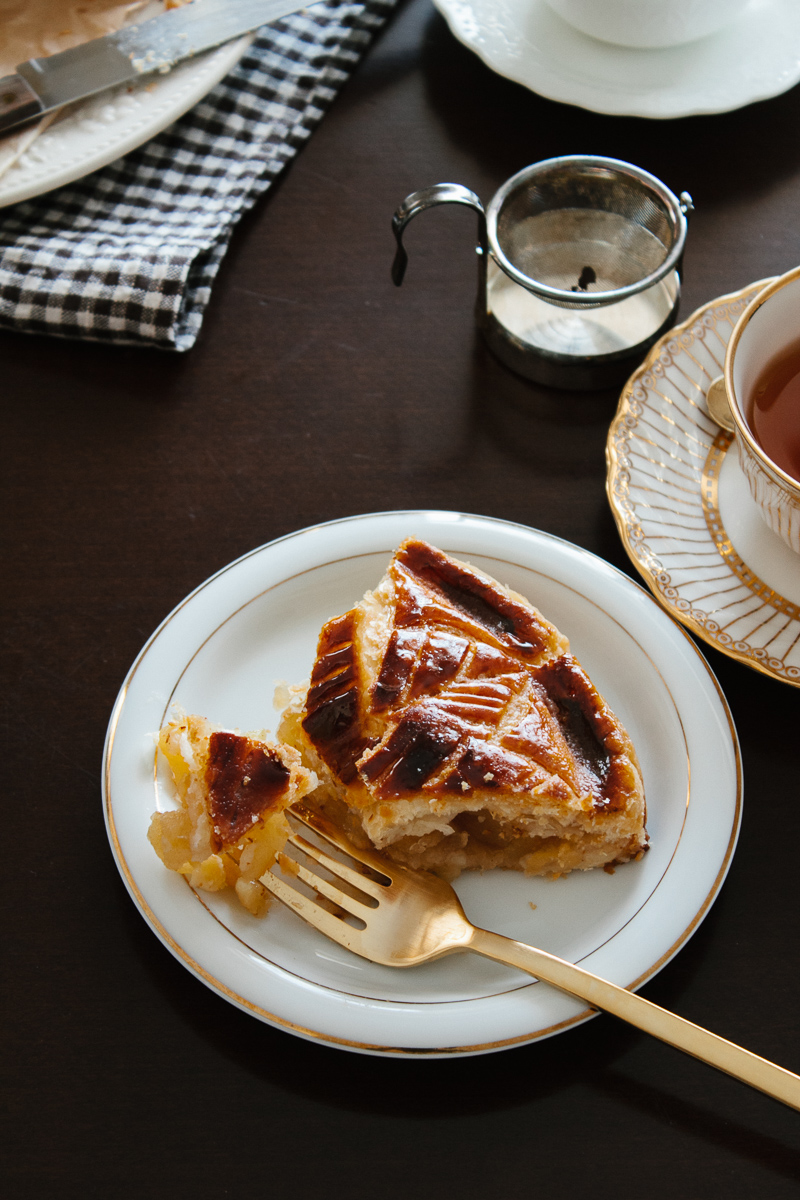
In recent years, the galette des rois has become popular in Japan with lots of patisseries and boulangeries selling a version during the month of January, so there is a variety to choose from. I love looking at all the pretty crowns and different fèves, trying to do decide which ones to buy. The one pictured here, along with the one I baked, is from Viron, a popular boulangerie well-known for their baguette retrodor. It is a classic galette des rois with almond paste filling, so for the homemade one I used apples and turned it into a galette des rois aux pommes — an apple pie with a crown.
 |  |
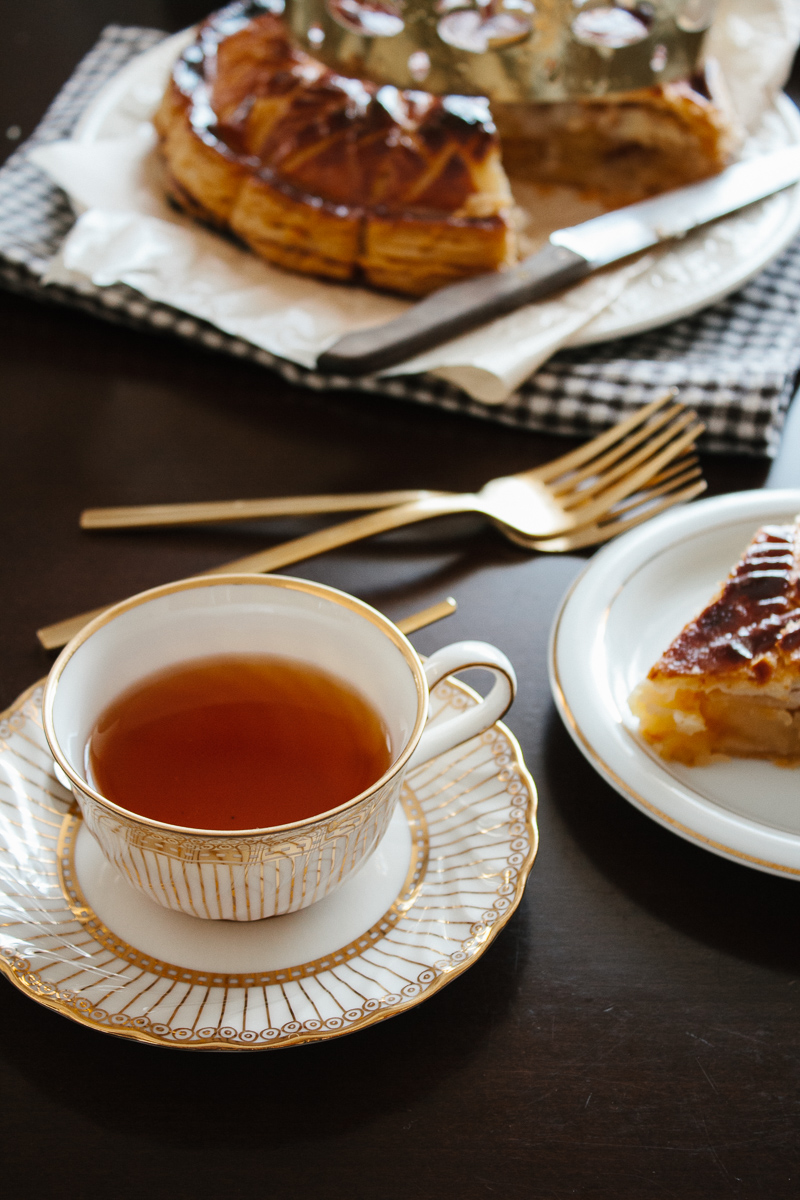
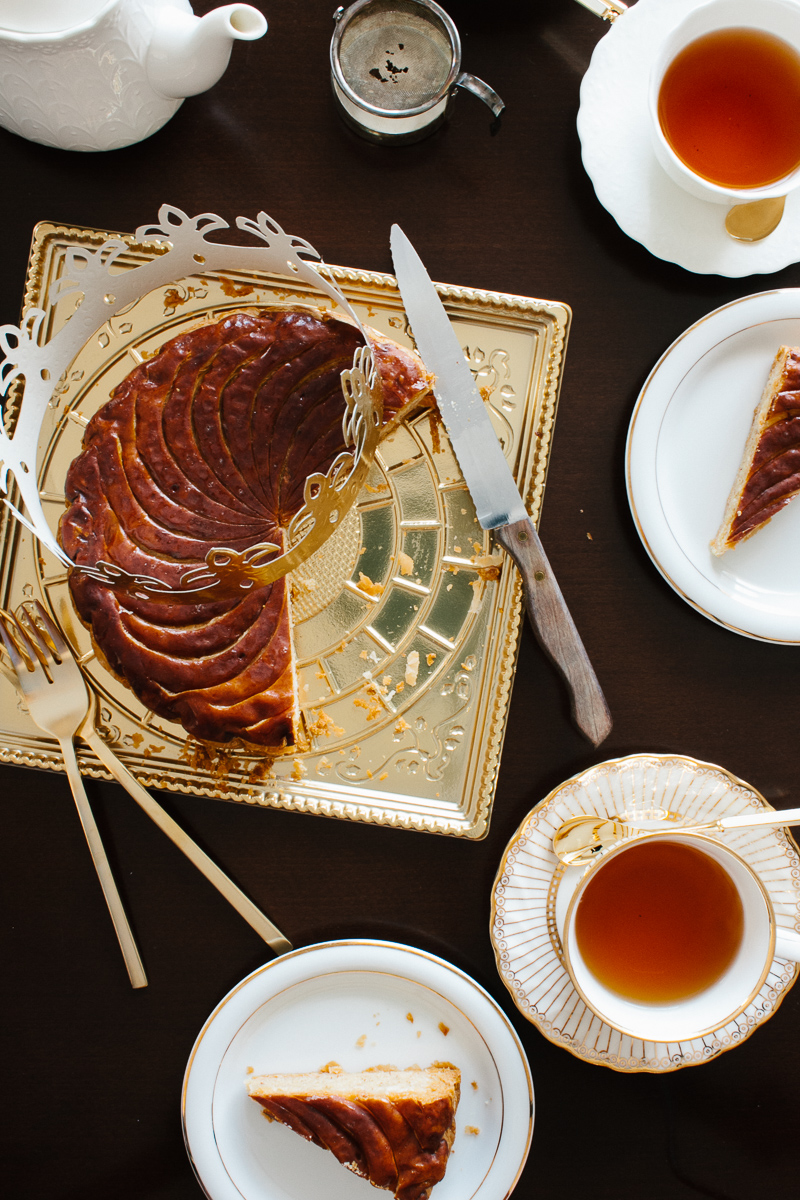
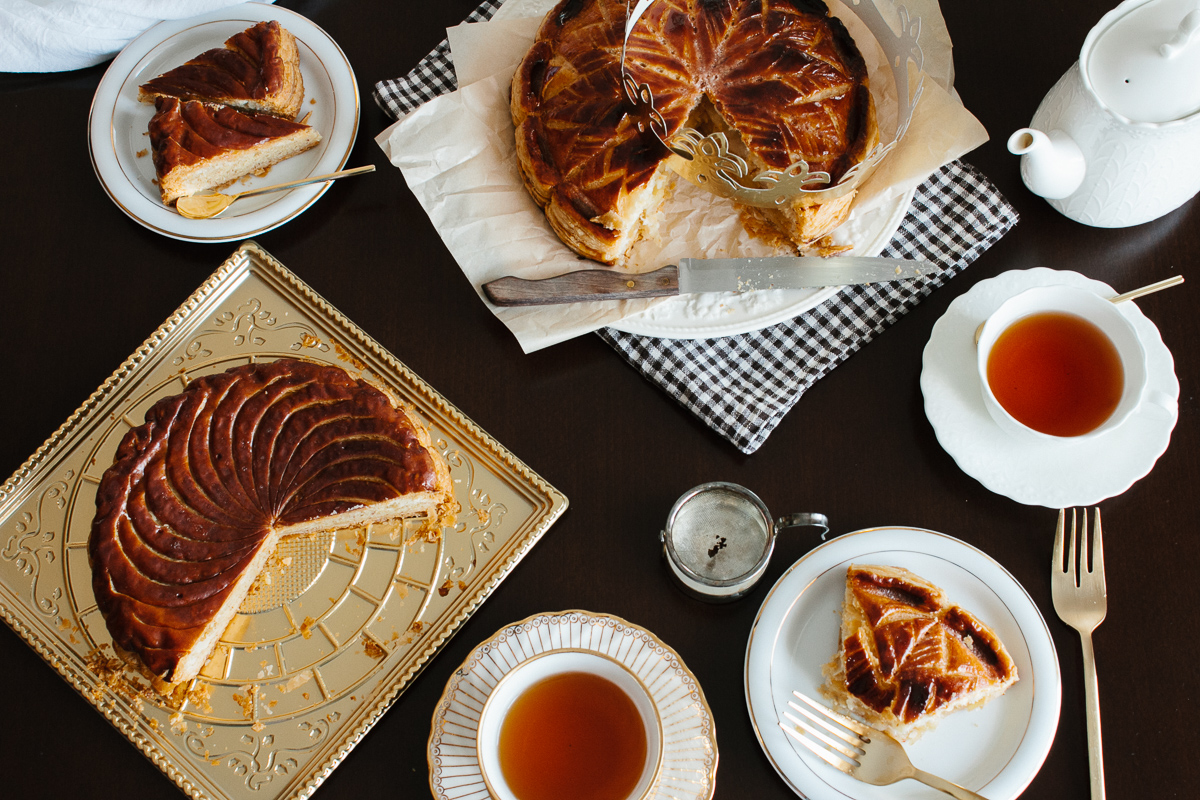
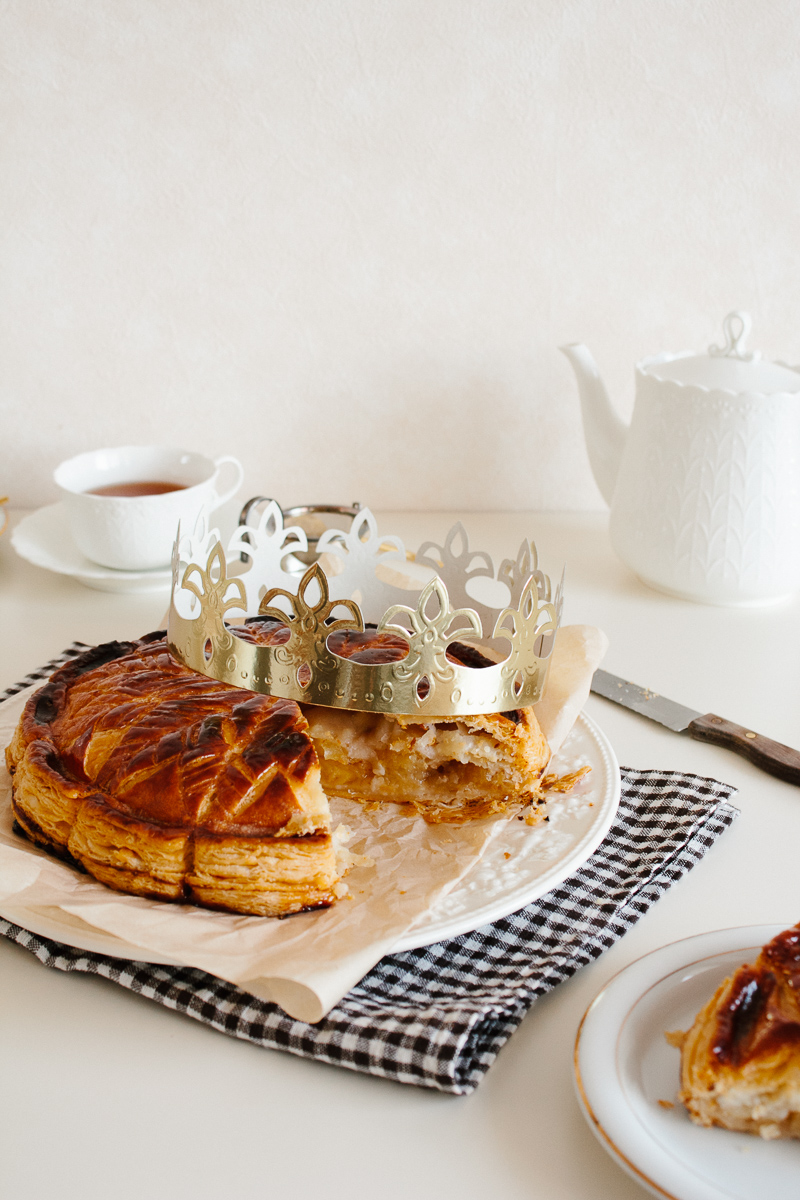
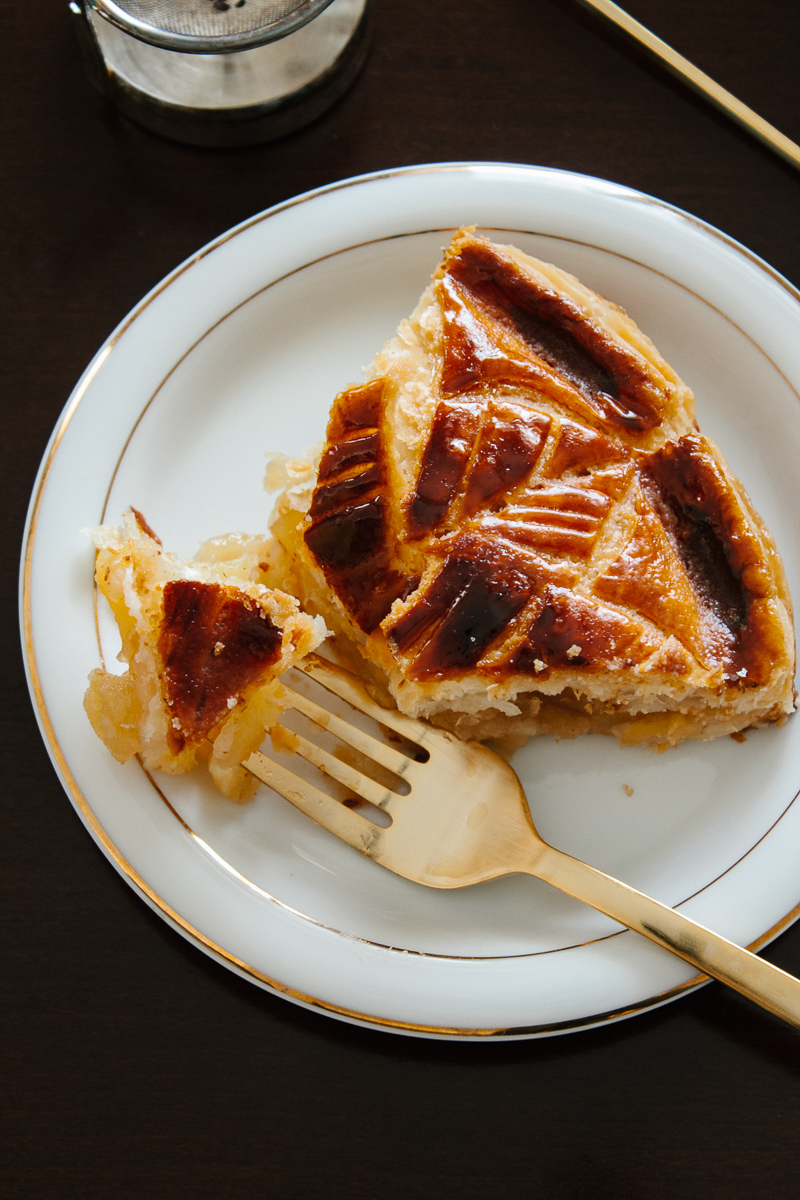
It was only me at home when I finished baking the galette des rois aux pommes. It was cheating a bit, but the light from the windows wasn't going to last forever, so I decided I would cut just enough slices for the photographs, and save the rest for everyone else until later. I prayed the fève wouldn't pop out from the small slices I had cut. It didn't. For either of the cakes. I thanked my lucky stars.
It turns out, I used up all my luck at that moment, because later in the day, I did not find a fève in my slices of galette des rois. Yu (pronounced "you") did . . . for both cakes! 2015 must be his year. To find not one but two fèves, now that is some luck. King for a day, and king of 2015 — I congratulated him, and told him I was happy for him — it looked very much like he would have some luck this year. I also told him that I recommended him to put his luck to good use dealing with a crazy girl with a bake schedule . . . He gave me a wry smile.
And so, the games of 2015 are over (unless we have more galettes des rois), and it feels very much like the new year has kicked off officially. I am beyond excited, craziness and bake schedule and all.
* { galette des rois aux pommes, adapted barely from : coloré, by maiko e., — ガレット・デ・ロワ その弐・その参 galette des rois how to no.2 / no.3 }
{ INGREDIENTS } makes one 20-23cm (8-9inch) galette des rois
< for the pâte feuilletée inversée >
for the "beurrage" (butter sheet dough)
200g unsalted butter, cut into cubes
75g all-purpose flour
for the "détrempe" (flour dough)
175g all-purpose flour
50g unsalted butter, melted and cooled
7.5g salt
75ml cold water
1 teaspoon vinegar
< for the apple filling >
1200 g apples (about 4-5 apples)
30g granulated sugar
70g brown sugar
1/4 teaspoon cinnamon
pinch of nutmeg
pinch of salt
2 teaspoons cornstarch
1/2 teaspoon lemon juice
1/4 teaspoon vanilla extract
< for the egg wash >
1 egg
pinch of sugar
pinch of salt
< for the glaze >
confectioner's sugar for dusting
{ INSTRUCTIONS }
< for the pâte feuilletée inversée >
1.
2. Prepare a large piece of plastic wrap, about 30cm×60cm long. Gather the butter mixture together roughly into a ball and place the dough in the middle of the right half of the plastic wrap. Fold the plastic wrap in half, with the dough in between, like you are closing a book. Roll a rolling pin over the plastic wrap, until the dough becomes a 20cm×20cm square sheet. To make a clean square, fold the edges of the plastic wrap to create a 20cm×20cm square, and roll the dough out to fit the plastic wrap. Chill in refrigerator for at least 2 hours, or preferably overnight.
3.
4. Prepare a large piece of plastic wrap, about 30cm×60cm long, again. Place the dough in the middle of the right half of the plastic wrap. Fold the plastic wrap in half, with the dough in between, like you are closing a book. Roll the rolling pin over the plastic wrap, until the dough becomes a 15cm×15cm square. Again, to make a clean square, fold the edges of the plastic wrap to create a 15cm×15cm square, and roll the dough out to fit the plastic wrap. Chill in refrigerator for at least 2 hours, or preferably overnight.
5. Take the butter sheet dough out of the refrigerator and carefully peel open the plastic wrap. Rearrange the folded edges of the plastic wrap to create a slightly bigger square of about 25cm×25cm, and roll out the dough into the size of the wrap. Take the flour dough out of the refrigerator and repeat the steps above, rolling it out into a slightly bigger square of about 17cm×17cm. Peel the top plastic wrap from the butter sheet dough. Peel the plastic wrap completely from the flour dough. Place the flour dough square right in the middle of the butter sheet dough square, and turn the flour dough square 45-degrees clockwise. The flour dough square should fit within the butter sheet dough square, and when seen from above, it should look like there is a diamond in the middle of the square. Wrap the flour dough with the butter sheet dough, by folding the four corners of the butter sheet dough into the center. Pull the plastic wrap underneath each corner towards the center to make folding easier. The four corners of the butter sheet dough should meet in the center. Be careful not to trap any air when folding, and make sure that the flour dough is not peeking out from the seams and corners. Gently run your finger along the lines where the butter sheet corners meet, and close the seams. The dough is ready for turning. Wrap tightly in plastic wrap and chill for at least one hour.
6. Take the dough out from the refrigerator and peel all the plastic wrap. Place on a lightly floured surface, with the seamed-side up, and roll out into a rectangle that is about 20cm×50cm. (Roll out the dough gently but firmly, preferably rolling in one direction, making sure that the flour dough inside does not squeeze out.) Brush off any excess flour, and fold in four, folding the bottom quarter to center, top quarter to center, then folding in half like closing a book. Turn the dough 90-degrees clockwise, so the fold is on your left. This whole process is called a "double turn". You should have four layers of dough. Brush off any excess flour, wrap in plastic wrap, and chill in refrigerator for at least one hour.
7. Repeat step 6. Start where you left off before chilling the dough, placing it on your work-surface with the fold on your left. Do a "double turn" to create four layers. Brush off any excess flour, wrap in plastic wrap, and chill in refrigerator for at least one hour.
8. The last turn is a simple "turn". Again, place the dough on your work-surface with the fold on your left. Roll out the dough into a rectangle that is about 20cm×50cm. Brush off any excess flour, and fold the dough in three like a business letter, folding the bottom third up, and then the top third down over the bottom. You should have three layers of dough. Brush off any excess flour and wrap tightly in plastic wrap. Chill in refrigerator for at least one hour, and the dough will be ready for use. If you are not using the dough immediately, wrap with a second layer of plastic wrap and put the wrapped dough in a freezer bag. Store in the freezer for up to a month.
< for the apple filling >
1. Peel and core the apples and cut them into cubes.
2. Combine the apples, brown sugar, granulated sugar, cinnamon, salt, nutmeg, and cornstarch in a large heavy-bottomed saucepan, set over medium heat. Cover and cook, stirring occasionally, until the apples become tender. (This should take about 20 minutes. Be careful not to overcook and make them mushy.) Uncover and cook a bit more, until the liquid becomes thick and glossy. Remove from heat and stir in the lemon juice and vanilla extract. Cool to room temperature.
< how to assemble the galette des rois >
{ preparations }
※ Work quickly and make sure that the pastry dough stays cold at all times. If it starts to feel sticky at all, return to the refrigerator and chill immediately. Working in a cool (or actually, cold) environment will make all the steps of assembling the galette des rois easier, and the end result will be much more beautiful.
2. Take the larger half and roll out until about 5mm thick and is large enough to fit the prepared dish. Drape the rolled-out dough over the dish and gently push in to fit the bottom edges and sides. Take care not to pull and stretch the dough out to prevent shrinking. Let the excess dough drape over the edges of the dish. (This will be trimmed later.) Fill the dish to the rim with the cooled apple filling and hide the fève in the filling.
3. Brush the diameter of the dough already set in the dish with egg wash, tracing the rim of the dish beneath. Take the smaller half of the dough and roll out until 3mm thick and is large enough to cover the diameter of the prepared dish. Drape the rolled-out dough gently over the dish and cover the filling, making sure not to trap any air inside. The egg wash will stick the two pieces of dough together.
4. Trim the excess dough, using a sharp knife. Place a piece of baking paper over the dish and invert the galette des rois onto the paper. Lift the edge of the dish carefully so as not to destroy the pastry layers when releasing from the dish.
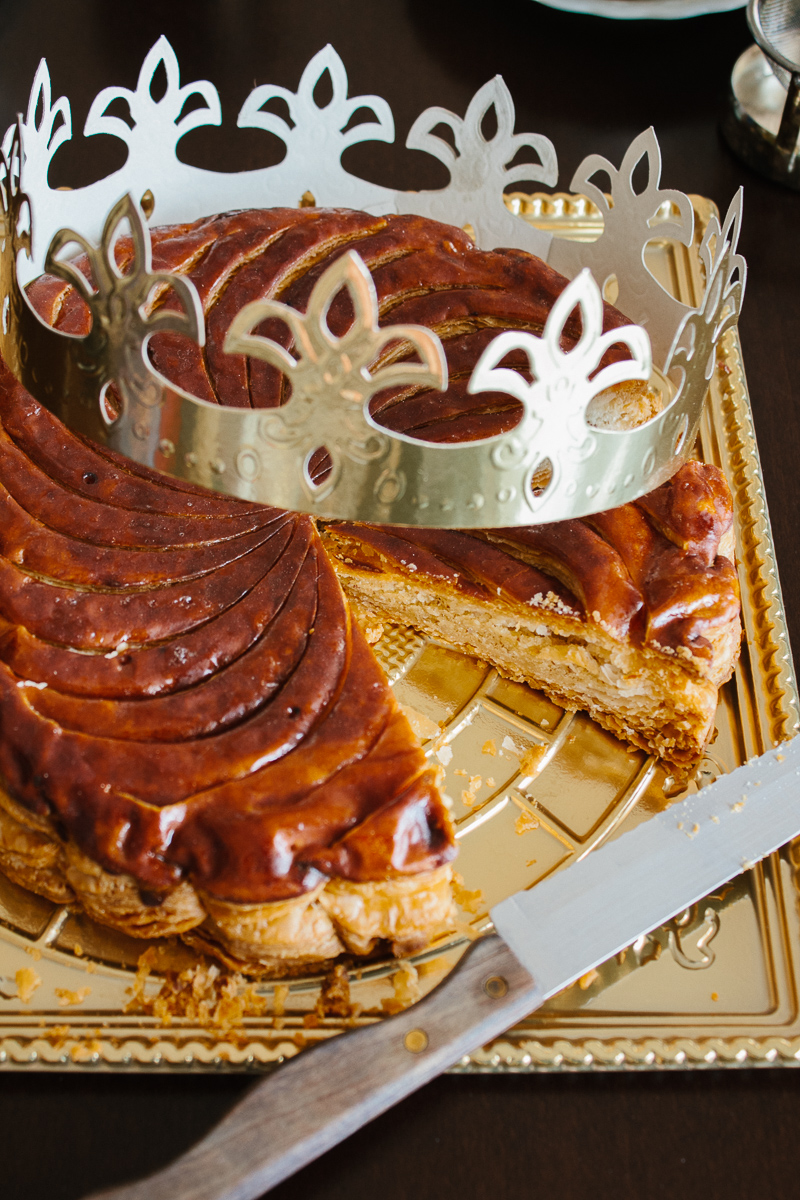
5. Seal the galette des rois by fluting and firmly pressing down on the edges with your thumb. If the edges are not properly sealed, the filling will leak out while baking. To flute the edges you can use the back of a knife — hold the knife upright and push into the dough to create a 1cm-long dent. For this galette des rois, I first created 12 dents like the face of a clock, and then pressed my thumb down firmly in between the dents to seal, making the sealed galette des rois look like a flower. Brush the top thoroughly with egg wash (make sure not to brush down the sides as the pastry will not puff properly) and chill in refrigerator for 30 minutes.
6. Take the galette des rois out of the refrigerator, and brush the top with egg wash a second time. Chill in refrigerator for 30 minutes.
7. Take the galette des rois out of the refrigerator. If you happen to own a Silpain®, carefully remove the galette des rois from the baking paper and replace on the
* NOTE : Some of the instructions were difficult to explain in writing. If you need more pictorial instructions, I recommend taking a look at the step-by-step instructions for the
No comments:
Post a Comment